2026 Author: Leah Sherlock | [email protected]. Last modified: 2025-01-24 17:46:33
There are about 10,000 different species of birds in the world. For centuries, different types of birds have been used in art as symbols of freedom, peace, wisdom, and a range of human emotions. And in this article we will tell you one of the ways how to draw a bird.
Materials
You don't need any special tools, just a piece of paper and a writing object like a pen or pencil. You can also use an eraser to correct mistakes and some tools to color your finished drawing, such as crayons, markers, or colored pencils.
How to draw a bird with a pencil?
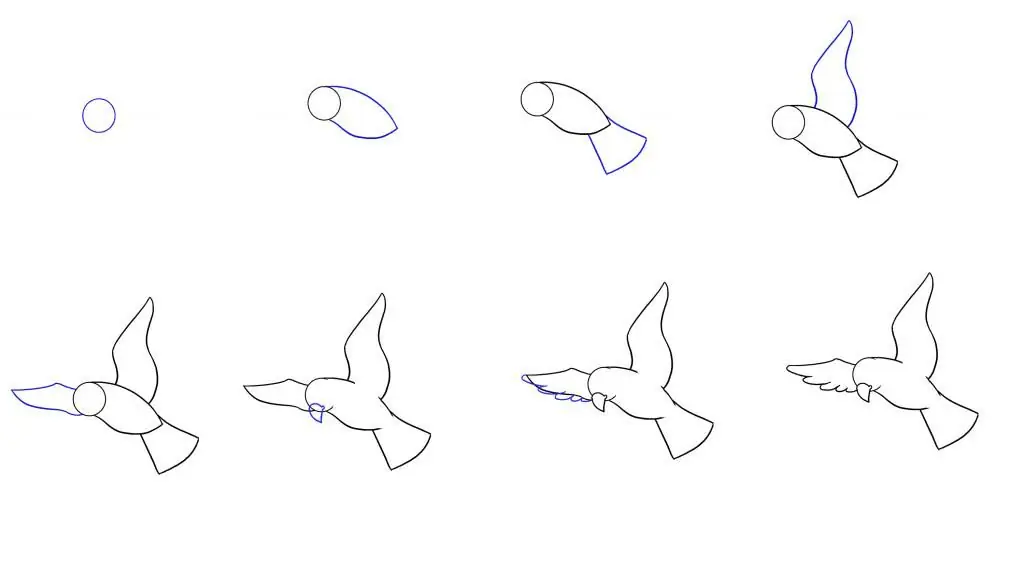
Start by drawing a small circle to represent the bird's head. Make the lines subtle so that you can easily wipe them off later.
Then draw an irregular shape to the right of the circle using two curved lines that meet at the same point. This will be the body of the bird.
To represent the tail, draw two curved lines above and below the point where the body ended. Connect these lines with another curved line.
Draw a wing,extending from the upper body using two wavy lines resembling an elongated English letter S. These lines should converge at the top at one point.
To the left of the head, draw two more curved lines that meet at one point. Thus, you will get the second wing.
Erase guide lines from the right side of the head, at the base of the wing and tail.
Draw a beak that looks like a drop, and erase the extra line at the intersection of the beak and head.
Draw the flight feathers on the bottom line of the left wing. In shape, they should resemble the English letters U, close to each other.
After drawing the bird's feathers, erase the auxiliary bottom line of the wing.
In the same way, add feathers to the right wing and erase the excess line.
Add feathers to the tail by drawing a series of connected U-shaped lines along the tip of the tail.
Adding details
When you have drawn the main part of the bird, you can start adding important details. And first draw some more feathers. Draw a series of U-shaped lines within each wing, parallel to the flight feathers. Add some curved lines on the body of the bird. Draw slightly curved lines along the tail.
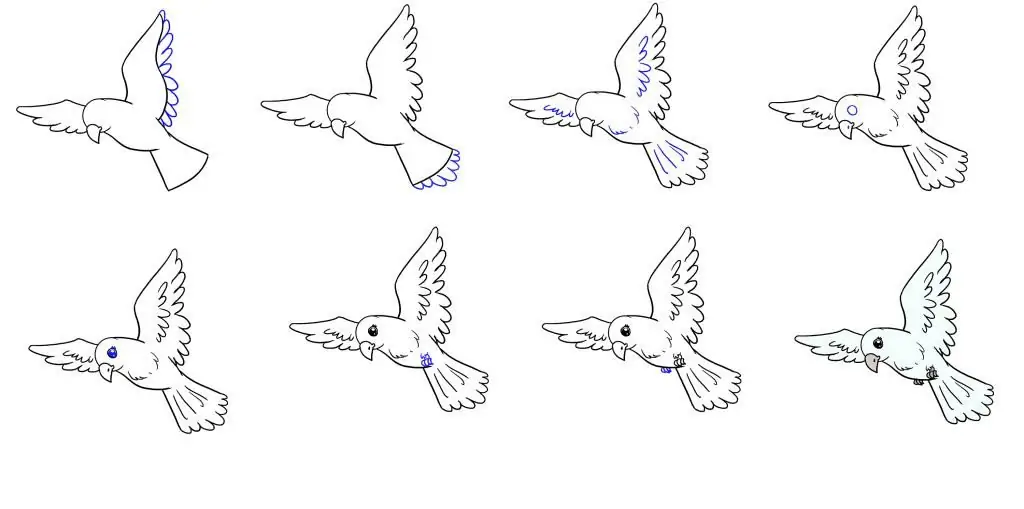
Also draw a small circle in the middle of the head to represent the eye and a dot inside the beak to represent the nostril.
Draw eyelashes with three short lines. Add a large circle inside the eye, then draw a small oval and another very small circle. Shade the area between the larger circle and the smaller shapes.
Draw a series of connected, curved lines across the bird's body to represent the feathers above the leg. Below, draw a small closed shape to form the leg itself. Below the foot, add some small teardrop shapes to represent the toes.
On the belly line, draw a few more teardrop shapes to show the other leg.
Now just color the bird and your drawing is done.
Recommended:
How to draw human emotions? Expression of feelings on paper, features of facial expressions, step-by-step sketches and step-by-step instructions
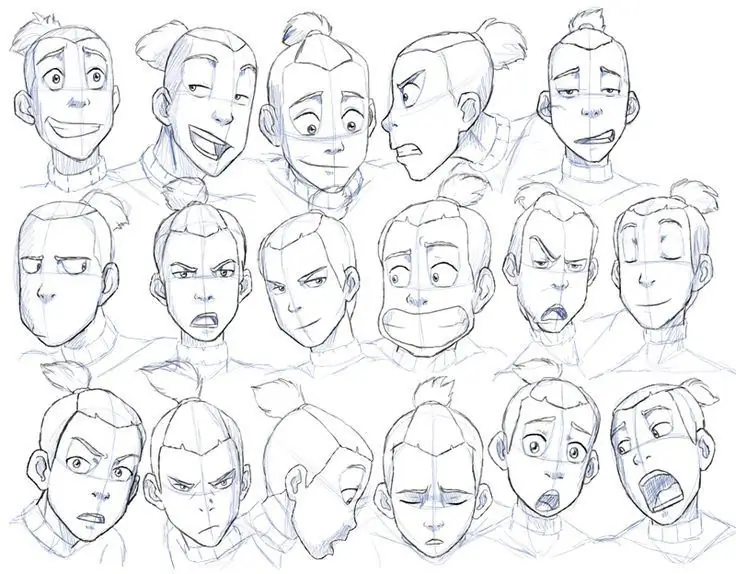
A successful portrait can be considered a work that seems to come to life. A portrait of a person is made alive by the emotions displayed on it. In fact, it is not as difficult to draw feelings as it seems at first glance. The emotions you draw on paper will reflect the state of mind of the person whose portrait you are depicting
How to draw Santa Claus with a pencil step by step. How to draw Santa Claus on glass

On the eve of the New Year holidays, everyone expects a miracle. Why not create a little magic at home with the kids? Parents will agree that time spent with kids is priceless
How to draw a bird's nest step by step?
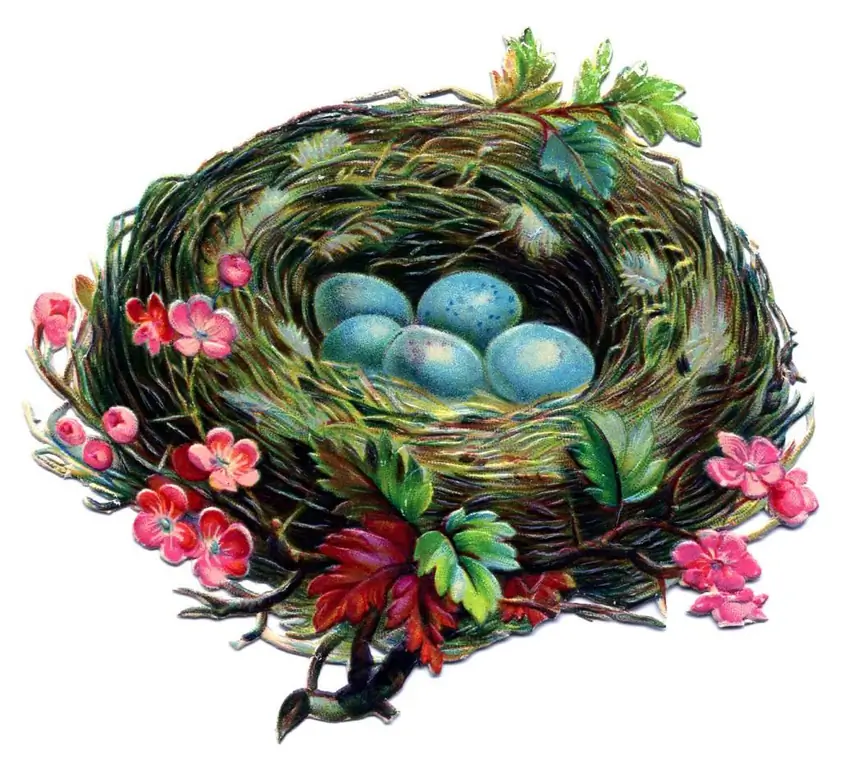
A beautiful nest can be drawn with a pencil or paints. A step-by-step description will help novice artists depict a bird house. To do this, you need a little perseverance and elementary drawing supplies
How to draw a cylinder with a pencil with a shadow step by step? Step by step instructions and recommendations
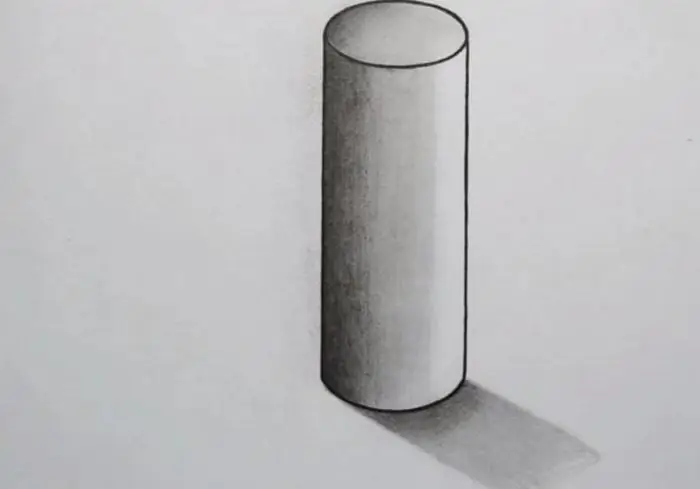
Pencil drawing is very tricky when you want to create volume and draw a shadow. Therefore, consider how to draw a cylinder in detail in different versions
How to draw a sitting dog with a pencil step by step - step by step description and recommendations
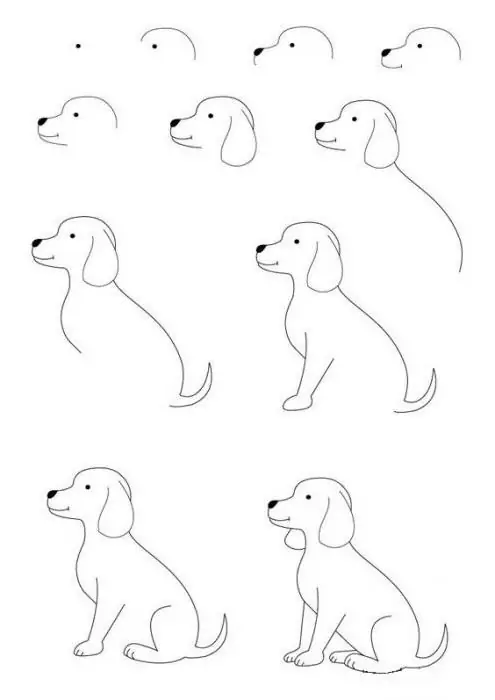
It is through creativity that children learn about the world around them. To learn and remember the features of each animal, you need to learn how to depict them correctly. Below is a detailed instruction on how to draw a sitting dog for children and adults

