2026 Author: Leah Sherlock | [email protected]. Last modified: 2025-01-24 17:46:34
Any creativity brings only positive emotions and great benefits. Someone masters the basics of knitting or embroidery, someone tries to sculpt or draw. Each person finds something to their liking, and very often it develops into a profession or a favorite hobby.
In this article we will talk about how to draw a pear. This may seem like an easy task to some, but making this fruit realistic is not so easy. Try to draw not from your head or from a picture, but from nature. This is a very exciting process.
Let's look at how to draw a pear step by step.
Stage 1. Choose the nature for the picture
When choosing a pear for your drawing, try to find a fruit that is not perfectly even, let it be a little “humped”. This will make it a little more difficult for you to learn how to draw a pear, but it will add personality to the work.
Stage 2. Outline the pear
Place a beautiful juicy pear in front of you, just don't eat it until the end of work. In order to make it easier to understand where to start drawing, break the pear into separate shapes. First, draw a circle, this will be the bottom of the fruit. Try to keep this circle the same size as the bottom of the pear. This is how your eye is trained. You can draw a vertical center line from which you will build. Finish the upper half in a way convenient for you.
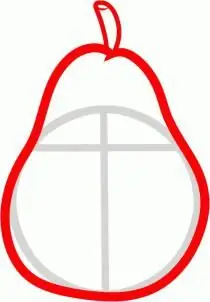
See if the top of the pear is tilted, perhaps it looks a little to the side, how the stalk is located in relation to the central axis. Move away from the drawing and look from the side, if necessary, correct the outline. Erase all auxiliary lines with an eraser.
Stage 3. Moving on to color
Here we will not only look at how to draw a pear with a pencil, but also try to make it realistic. We will do this with colored pencils. If you like to experiment with materials, try pastels or crayons.
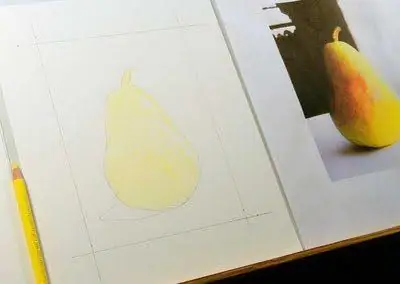
In our case, the pear is yellow-red, and we will start applying the color with a yellow pencil. Before starting work, pay attention to the places where the light falls. These are glare, it is better not to paint over them. They can be lightly marked with a simple pencil for your convenience. Alternatively, at the end of the work, such highlights can be made with an eraser. But not always an eraser can erase colored pencils well enough.
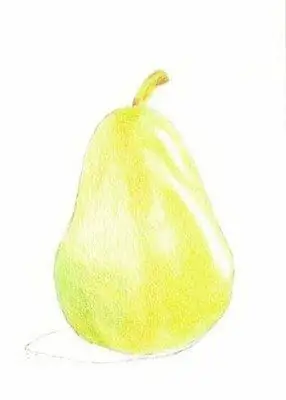
First, gently go over the yellow color, making a light background. Then, with more intense pressure, draw places in the shadows. Connect other colors. Simulate the volume of a pear.
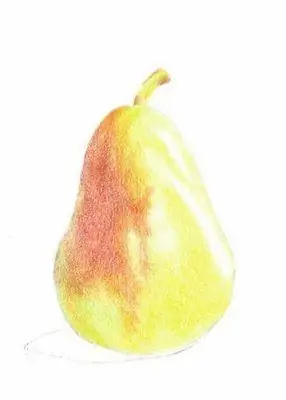
Stage 4. Shadows
In order for your pear to become more "alive", you need to make accents. You should already have highlights, it remains to make a few strokes with a darker color, for example, brown. Draw a stalk, on the pear itself, make darker the place where it comes into contact with the surface on which it stands. And, of course, do not forget to draw a shadow that will fall from it.
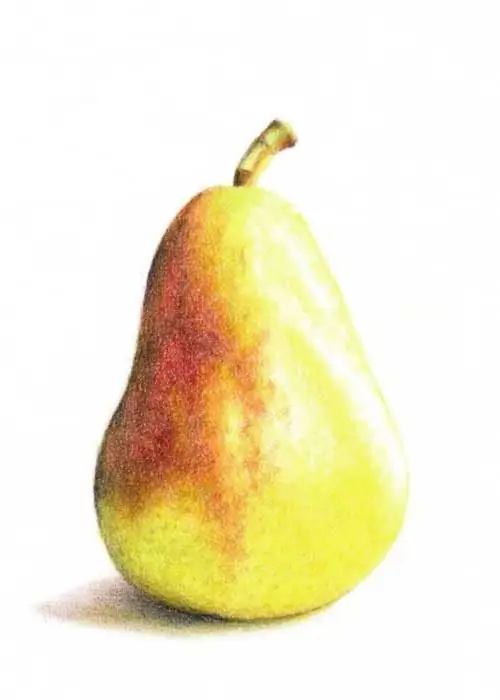
That's it, now you know how to draw a pear to make it look realistic. If you did the job easily, try drawing a background around it, and next time make the task more difficult, draw a cut pear.
Recommended:
Talking names in "Woe from Wit" as a key to understanding comedy
Why do we need speaking names in “Woe from Wit? Why, in fact, are they called speakers? What role do they play in the work? To answer these questions, you will have to plunge into the history of literature
Great Psychology Books: Understanding Yourself and Others
Everyone is interested in psychology, because you have to communicate with people every day. But some read books, while others simply gain communicative experience and draw their own conclusions. It is best to combine both approaches. But what books on psychology should you read to feel confident?
How to draw a pony. How to draw "My Little Pony". How to draw a pony from Friendship is Magic
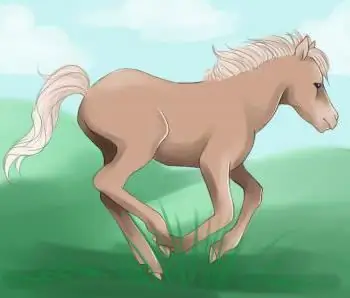
Remember how cute little horses with long tails and fluffy manes evoked in your childhood. These crumbs, of course, could not boast of royal grace and grace, but they had funny bangs and kind eyes. Do you want to know how to draw a pony?
What is the landscape in the understanding of the artist and photographer?

Many aspiring artists and photographers are interested in what a landscape is and how to depict it correctly in their work. For a long time, this genre of art in the enumeration list occupied almost the last position. It is all to blame for the distorted understanding of people who represent the surrounding nature only as a background of the main picture. Today, ideas about the genres of art have changed dramatically, and now the landscape occupies a leading position
How to draw wind? Understanding together on the example of landscape and portrait
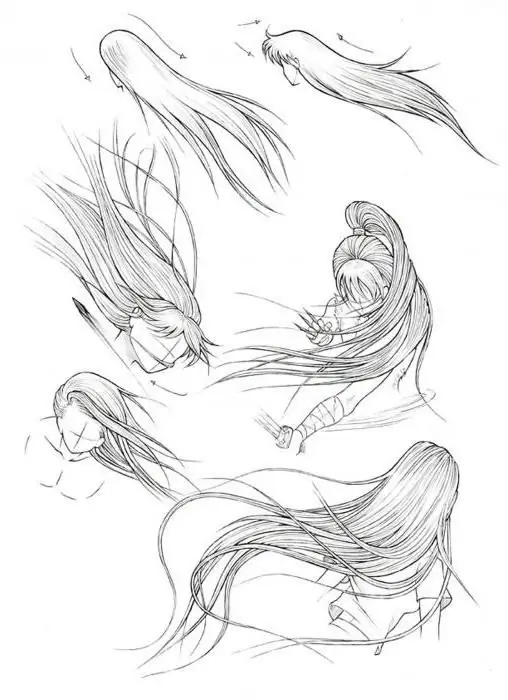
As you know, drawing is a creative process that, without inspiration and desire, cannot bring pleasure and the planned result. So how to draw the wind, because such a natural phenomenon is intangible? How to depict in your picture what cannot be seen? In order to answer this question, we need associative memories

